> For the complete documentation index, see [llms.txt](https://comunity.gitbook.io/learning.comunitynexus/llms.txt). Markdown versions of documentation pages are available by appending `.md` to page URLs; this page is available as [Markdown](https://comunity.gitbook.io/learning.comunitynexus/getting-started/manage-your-project/general.md).
# General
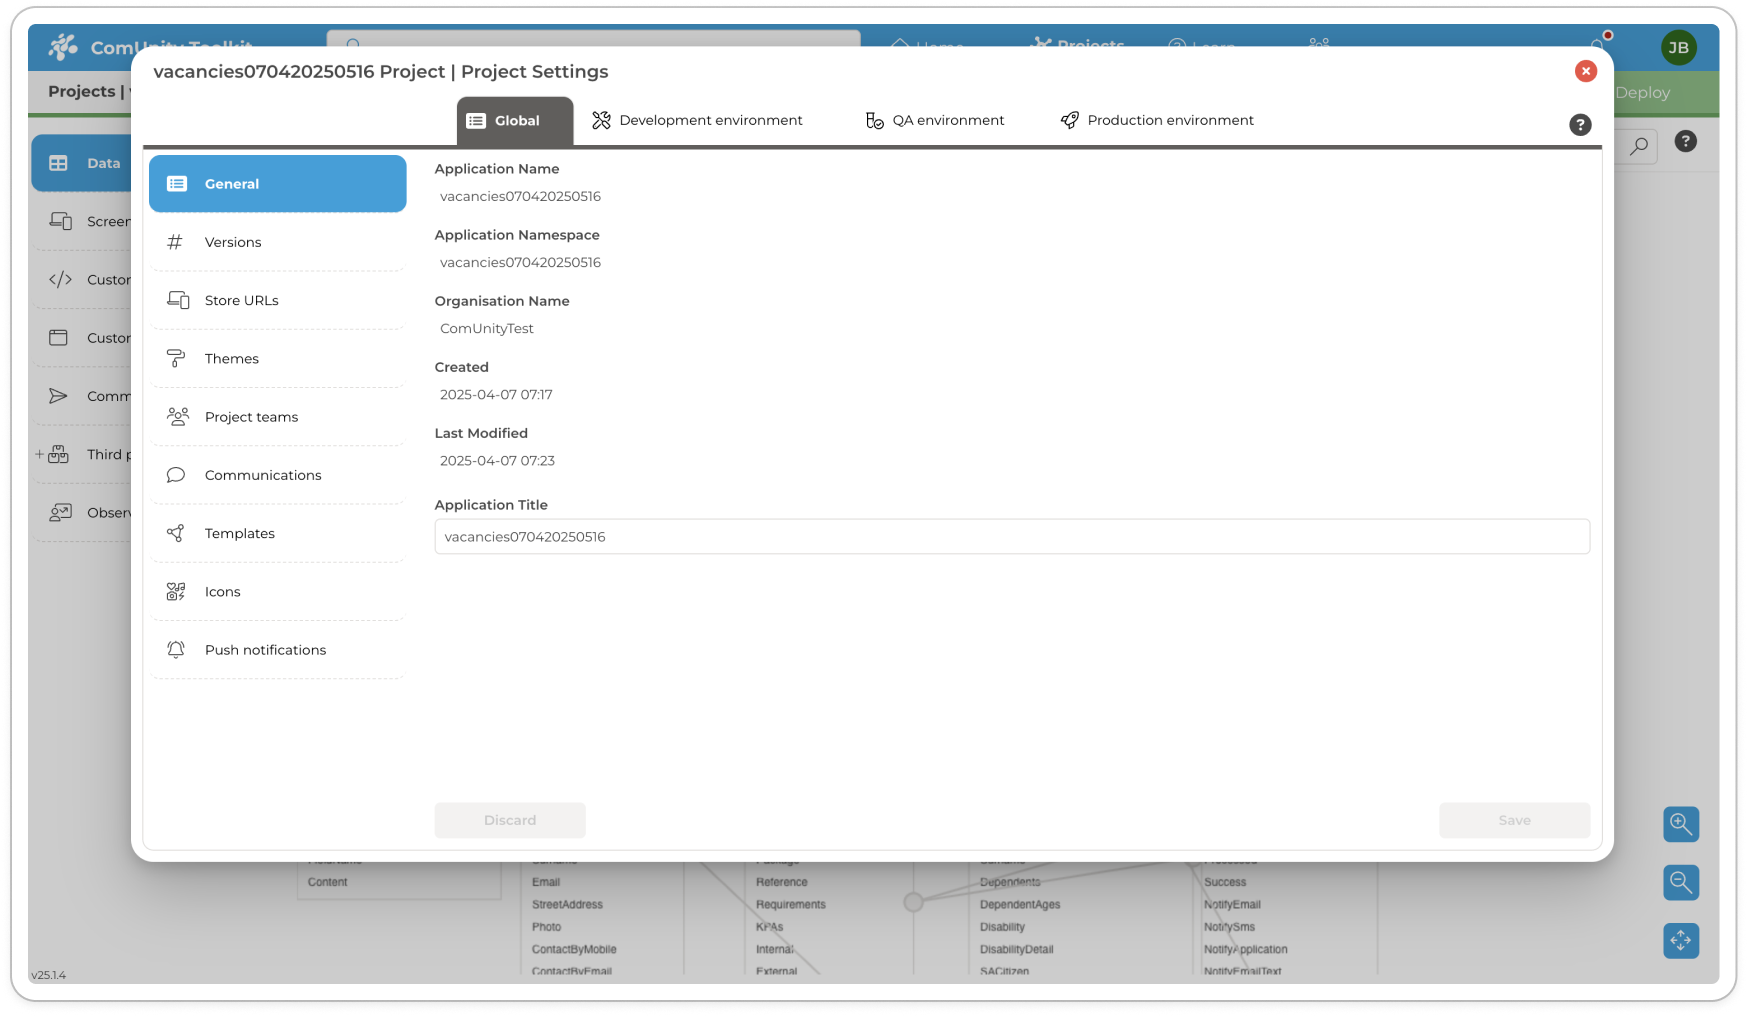
> The General tab in Project Settings displays key project properties, including the Application Name, Application Namespace, Organisation Name, Creation Date, Last Modified Date, and Application Title.
## Key Features
* **Application Name**: Displays the current name of your application. This name is normally used when referring to the code dynamically in the source code for customisations and is immutable.
* **Application Namespace**: Shows the namespace associated with your application.
* **Organisation Name**: Indicates the name of the organisation linked to the project.
* **Created**: Shows the date and time when the project was created.
* **Last Modified**: Displays the date and time of the last modification made to the project.
* **Application Title**: Allows you to modify the title of your app. When you create a project, the name you set during the project creation process becomes the default title of your app. The General section offers an opportunity to create a new title distinct from the project name. This flexibility allows you to tailor the app title to better reflect its purpose or branding without altering the project's original name.\
## Access Project Settings
1. **Login to ComUnity Nexus**
2. **Select your Project**: From the dashboard, select the project you wish to manage.
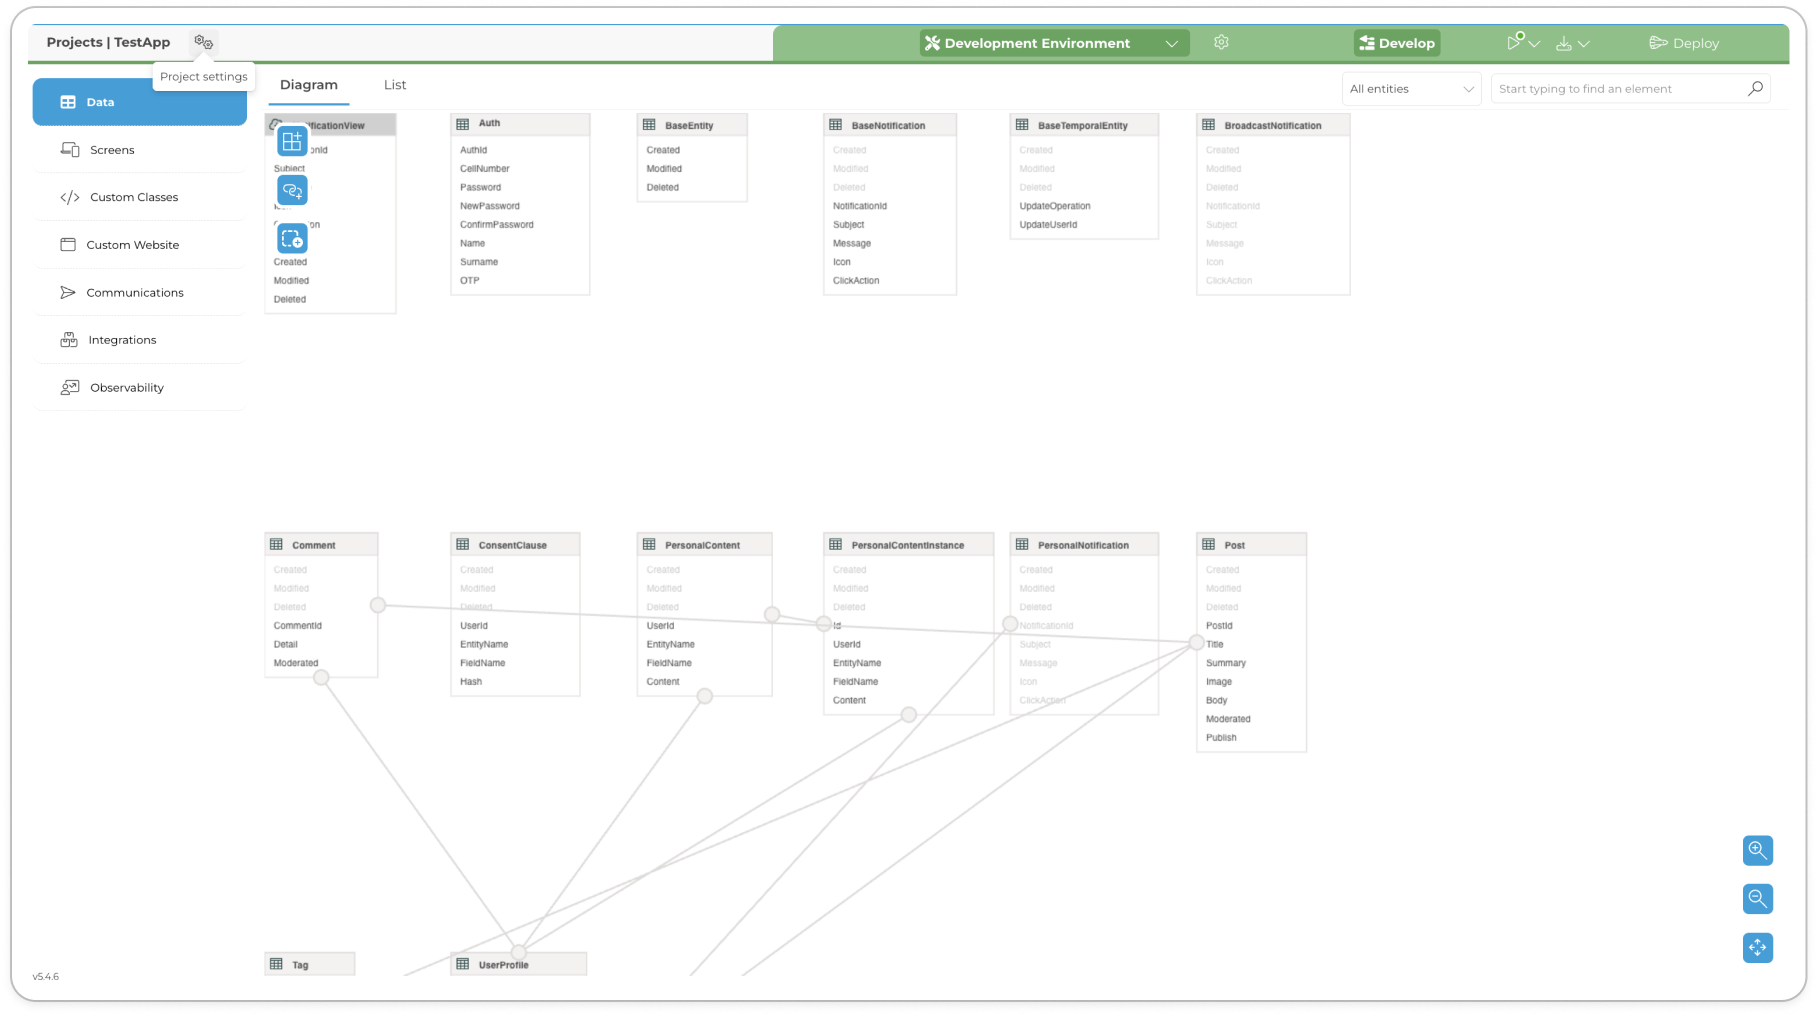
3. **Open Project Settings**: After opening your project in Nexus, access **Project settings** by clicking the cog icon with the tooltip "Project settings" (as shown below).
## Customise the Application Title
1. **Select General Settings**: In the Project Settings menu, click on the **"General"** option.
2. **Locate Application Title**: In the General settings section, find the **"Application Title"** field.
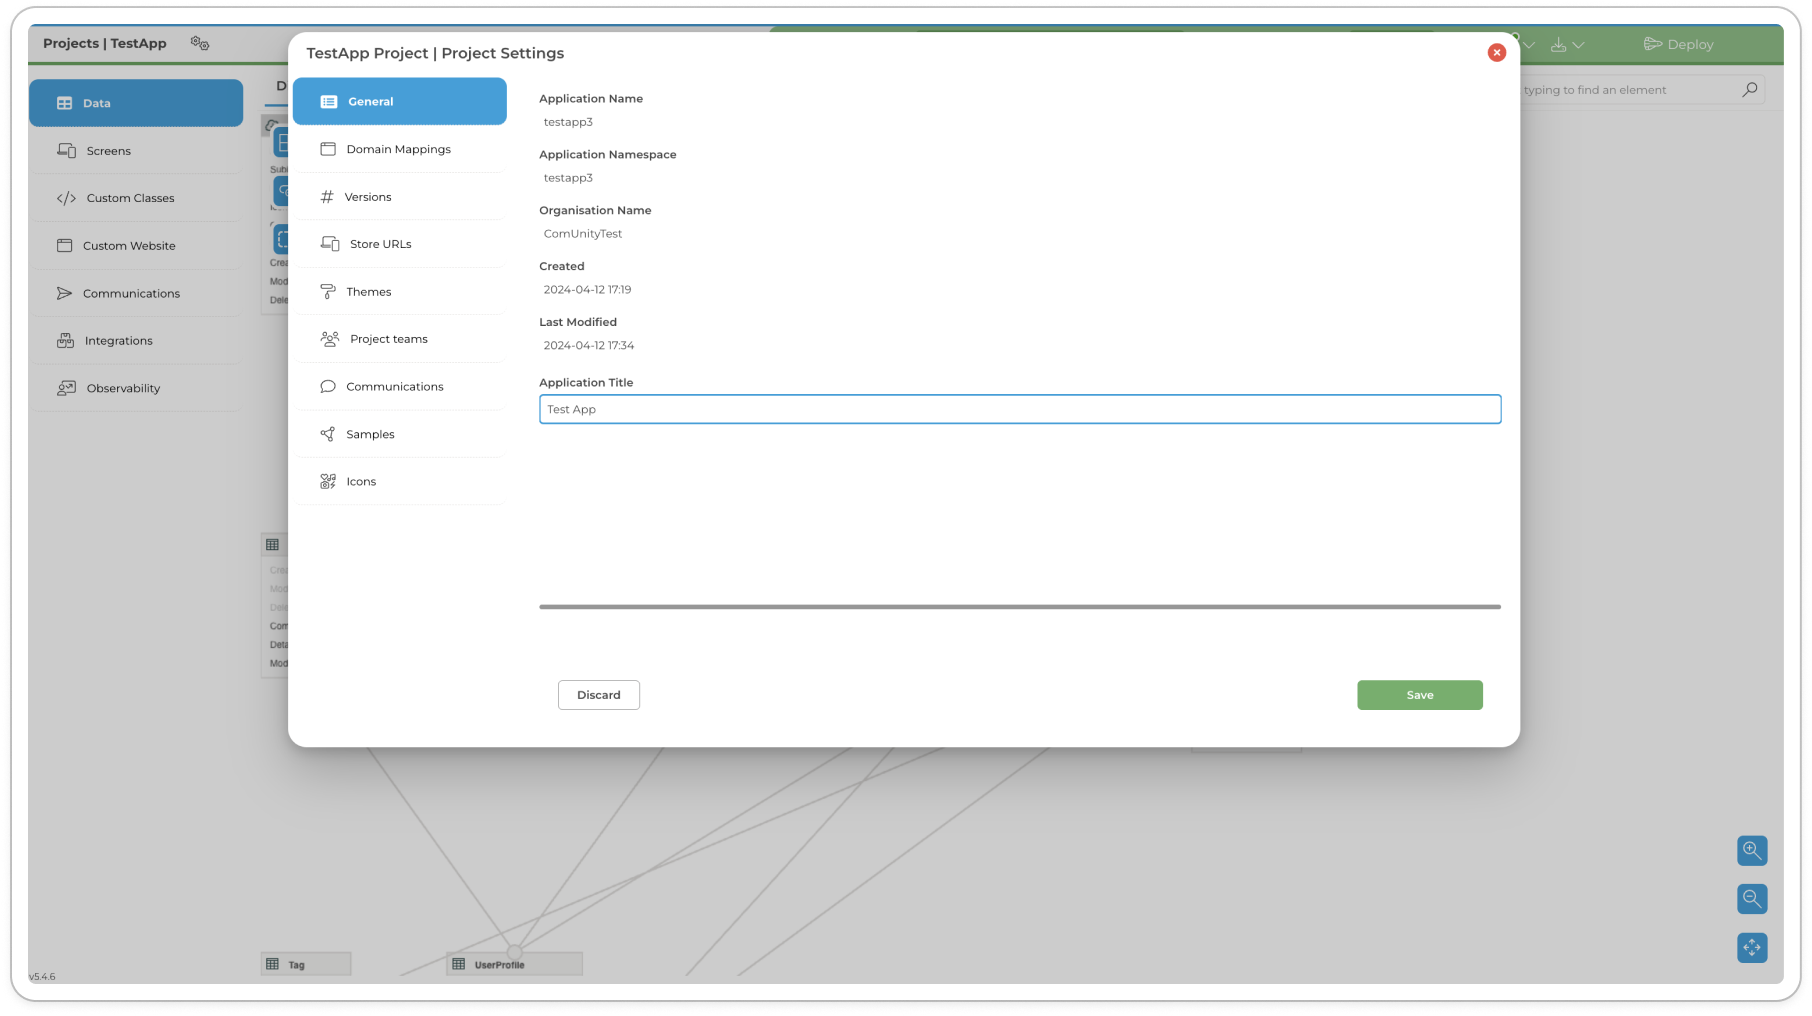
3. **Enter New Title**: Click on the text field next to **"Application Title"** and enter your desired new title.
Updated Application Title
4. **Save Changes**: After entering the new title, click the "Save" button to apply the changes.