ComUnity Platform
25.x
25.x
  • ComUnity Technical Overview
  • Getting Started
    • ComUnity Developer Toolkit
      • Login
      • Manage your account: Profile, Settings, and Actions
    • Manage your project
      • Create a project
      • Project Settings
      • General
      • Build and launch your project
      • Templates
      • App Users & Roles
      • Themes
      • Versions
      • Icon Management
      • Store URLs
      • Deploy
        • Environments
        • Manual Project Deployment Across Environments
        • Configuration
    • Organisations
      • Roles and Permissions
      • Organisational Management
      • Teams
  • Toolkit Guides
    • Data
      • Customising the Data Model
      • Manage Entities in the Data Model: Step-by-Step Guide
      • Setting Up Role-Based Permissions for Entities: Access Control Configuration
      • Creating Entity Associations: Configuring Table Links
      • Manage Inheritance in the Data Model: Configuring Entity Hierarchy and Inheritance
    • Screens
      • Integrated Navigation and UI Builder for Screens in the ComUnity Developer Toolkit
      • Building Screens
        • Screen Controls
        • Navigation
          • Lists in Navigation pages
            • Dynamic List Rendering in Navigation pages
            • Adding Sub-Screens to Navigation pages Using List Navigation
          • Page Link
        • Form
          • Screen Controls
          • Lists in Form pages
            • Static Item - List Item
            • Single Item - List Item
            • Entity Items - List Item
    • Custom Classes
    • Custom Website
      • Bindings
      • Pages
        • Page Development
        • Page Elements
        • Templates
        • Resources
    • Communications
      • Configuring Dynamic Action Templates for Event-Driven Communication Channels
        • Event Details: Understanding Data Sources for Dynamic Template Building
        • Email
        • SMS & WhatsApp
        • INAPP
        • Push Notifications
        • HTTP
      • Triggering the Communication Service
      • Communication Settings
    • Events and Notifications Management
    • Observability
      • Client Analytics
      • Metrics
      • Traces
    • Third Party Services
      • Azure Function Apps
      • Azure Logic Apps
      • Integrations
      • Microsoft Fabric
      • APIs
    • Services
      • Media Server
  • General Information
    • Debugging and editing your application code
  • Toolkit Tutorials
    • Build a Simple Blog App: The Beginner's Guide to ComUnity Development
    • Building a Comprehensive News App: Integrating In-App Messaging, Push Notifications, SMS, and Email
    • APIs
      • JSON Placeholder Todos API Integration in a Simple Blog App
      • Countries GraphQL API Integration Using the APIs feature in the Toolkit
      • Integrating the JSONPlaceholder Posts API Using the Toolkit’s OpenAPI Feature
      • OData Integration with the Bookings API Using the APIs feature
    • How to Configure In-App Notifications for User Profile Updates Using Communications
  • Enhancing Cases App: Real-time Comment Notifications
  • Reference articles
    • Glossary
    • Privacy by Design
    • OData
    • Razor
    • CRUD Functions
    • Mustache Templating
    • Temporal Tables
    • Integrating WhatsApp Business with the ComUnity Platform
    • Data Types
    • Field Types
    • Table Links
    • Release Notes
    • Keyboard Shortcuts
Powered by GitBook
On this page
  • Resources Settings
  • Mime Type
  • Content Type
Export as PDF
  1. Toolkit Guides
  2. Custom Website
  3. Pages

Resources

Last updated 1 month ago

Resources are non HTML files e.g. images, stylesheets and scripts which are used in your Custom Web.

To add a resource, follow these steps:

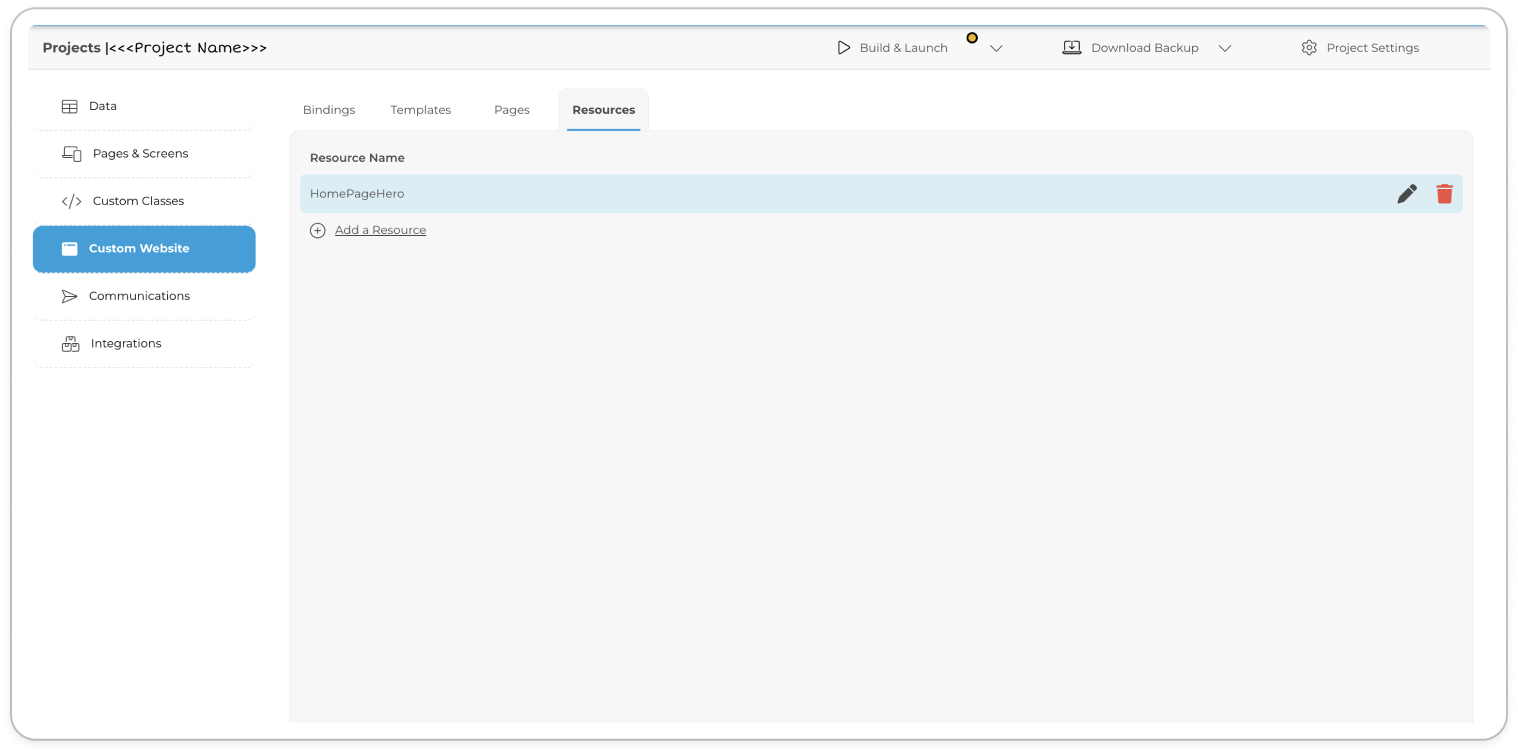
  1. Open your project in the Toolkit and navigate to Custom Website then select the Resources tab to view a comprehensive list of all existing resources within your Custom Website.

  2. Locate the Add a Resource button and click on it to add a new template.

  3. A modal window titled Add Resource will appear on your screen.

  4. In the modal window, provide a add a unique page name in the designated Resource Name box and select a MimeType.

  5. Finally, click Add.

  6. After successfully creating the resource, it will be added to the Resources view.

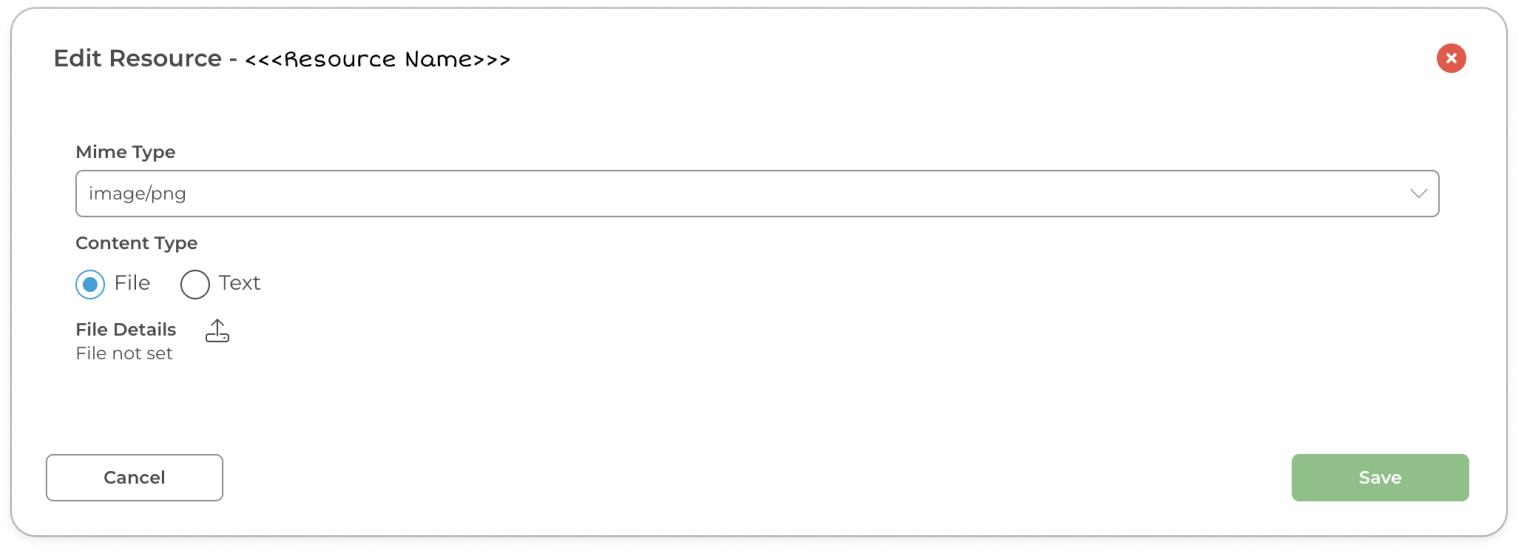
  7. Select the created resource and click the icon to build and configure its settings. This action will reveal a modal window dedicated to customising the resource's specific settings.

Resources Settings

Resource Settings in the ComUnity Developer Toolkit offer valuable features to manage and optimise various types of content within your web pages. This includes the Mime Type and Content Type settings, which ensure proper handling and compatibility of files and resources.

Let's explore the details of the individual Resources Settings:

Mime Type

Within the Resources section of the ComUnity Developer Toolkit, you can leverage the Mime Type feature to handle different types of files and their associated formats. This feature offers a drop-down menu that presents a variety of supported file extensions.

When uploading a file, you can select the relevant mime type from the drop-down menu. This ensures that the file is appropriately categorised and handled within the Toolkit, allowing for proper rendering and processing based on its specific format.

By utilising the Mime Type feature, you can ensure seamless compatibility and accurate handling of various file types, enabling a more efficient and effective management of resources within your web pages.

Content Type

The Content Type setting in the ComUnity Developer Toolkit allows you to specify the type of resource for your content. It provides two supported options: text or file.

When selecting the File option, you gain access to additional settings that enable you to upload files directly from your local machine. This feature simplifies the process of incorporating various file types into your content.

Alternatively, if you choose the Text option, you are provided with a user-friendly text editor. This text editor allows you to conveniently input and format text content within the toolkit.

By utilising the Content Type setting, you can effectively manage and incorporate different types of resources, whether it be text-based content or files, into your web pages with ease.