Integrations
An integration generates a proxy class from an Open API specification for an external service, providing pre-built methods that encapsulate the details of interacting with the service. This saves time and effort in writing integration code manually, allowing you to focus on high-level integration logic. You can implement the proxy class directly in your data model, simplifying the integration process, improving code maintainability, and leveraging your existing data infrastructure.

To an an Integration in a selected project, follow these steps:
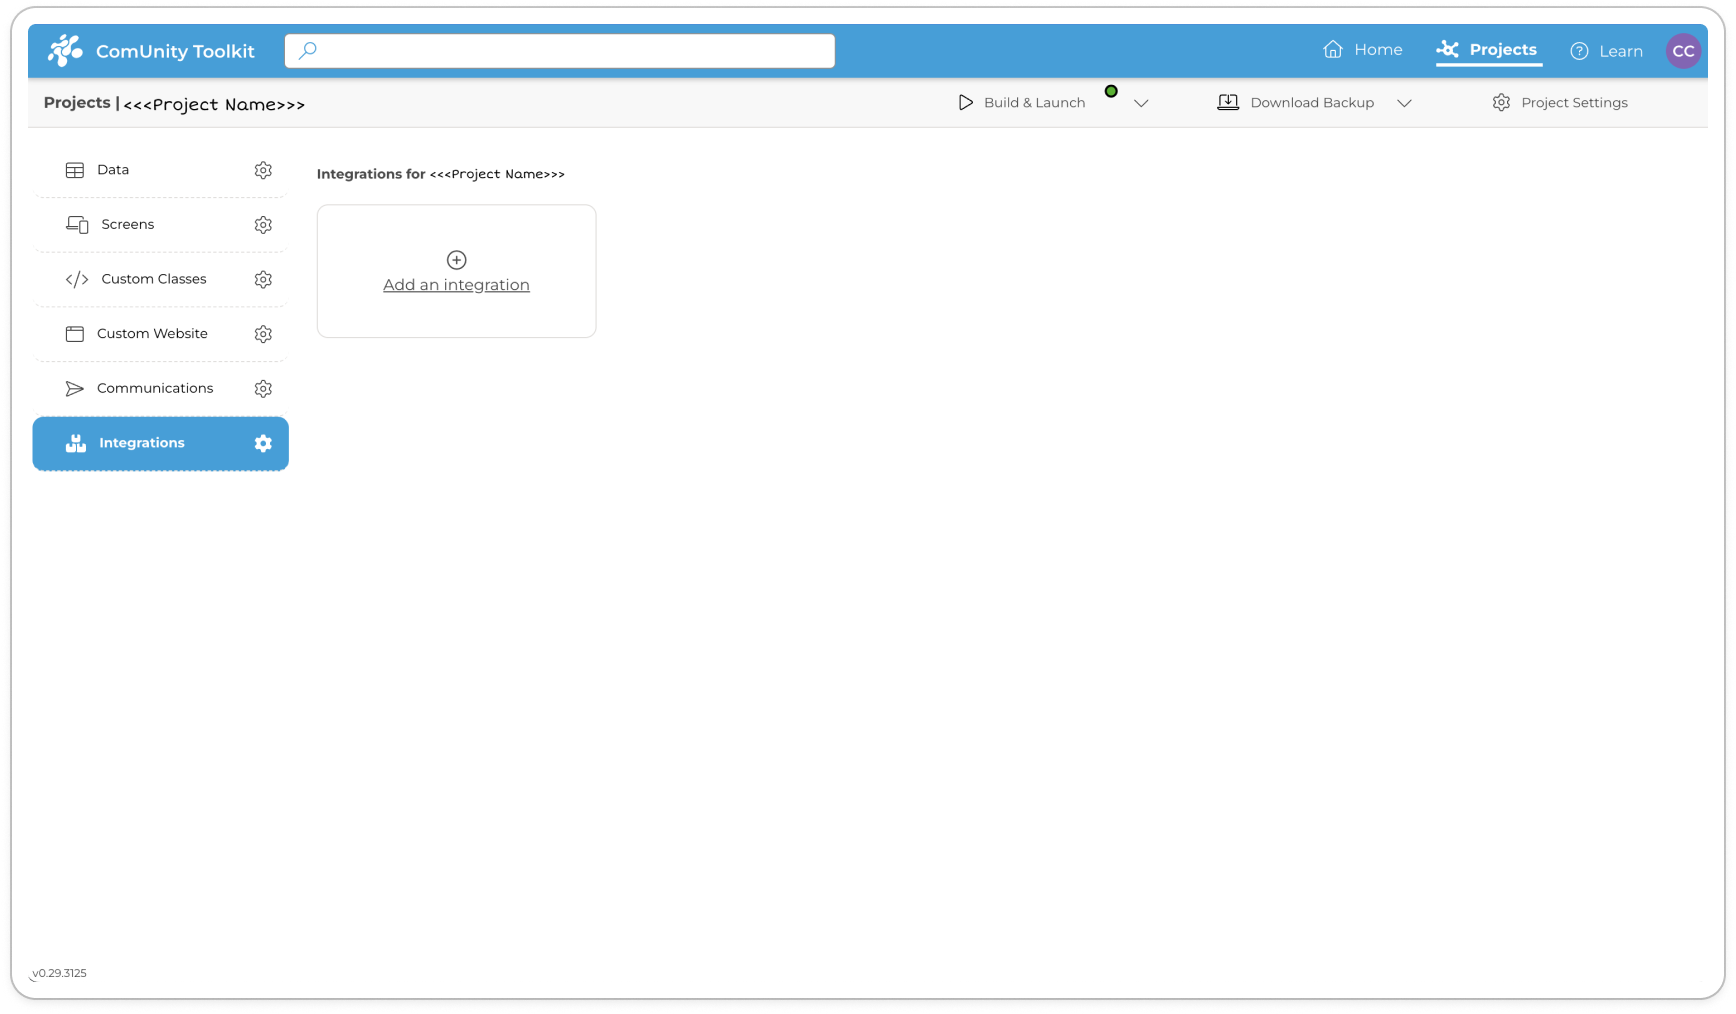
Open your project in the Toolkit and navigate to the Integrations section. Here, you will find a list of all existing integrations in your project if any exist.
To add an integration click, Add an integration.
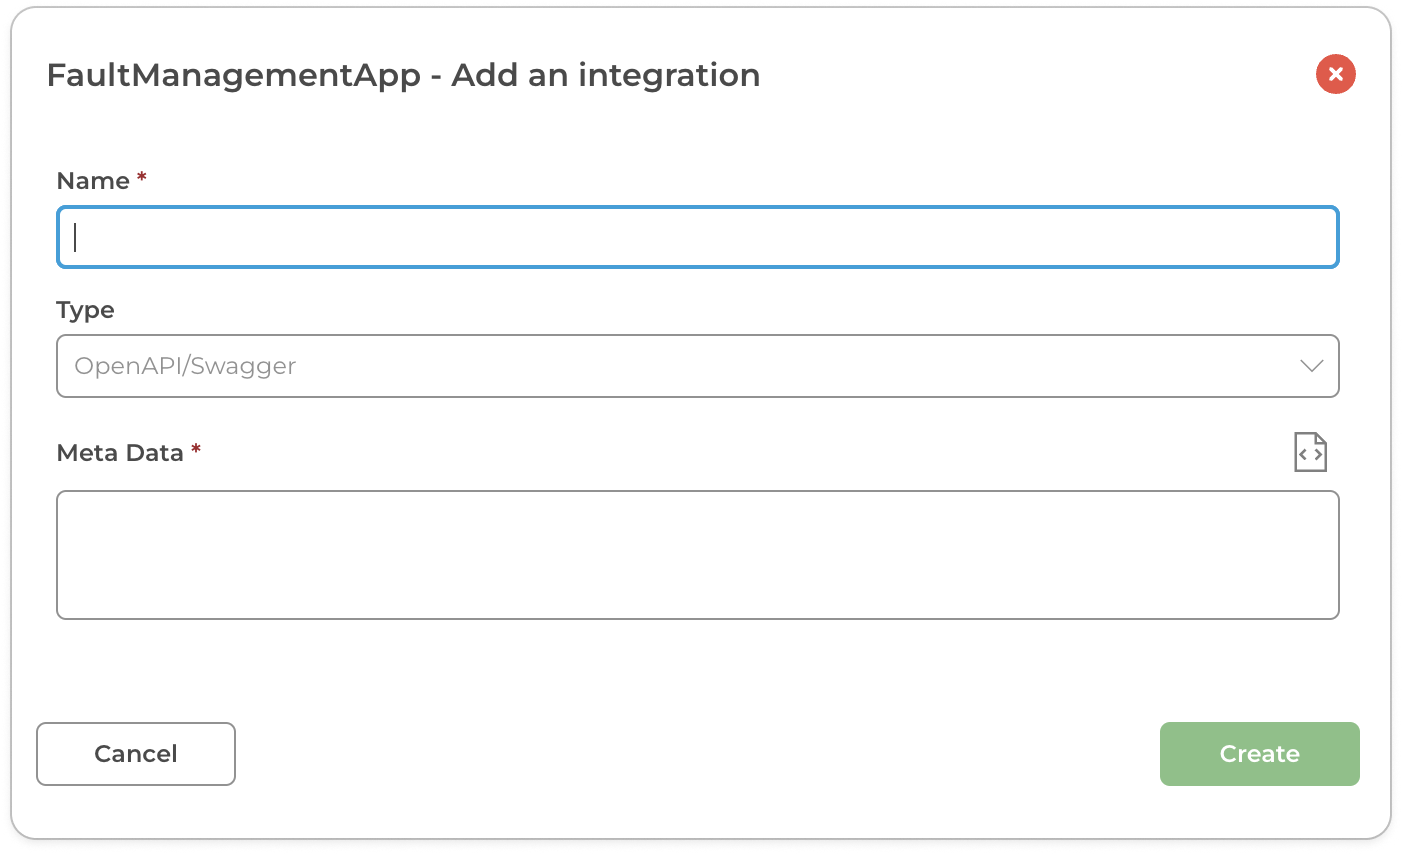
An Add Integration modal will appear, add a unique name of your Integration in the Integration Name box.

Adding an Integration to a project named FaultManagementApp Select an integration type from the Integration Type dropdown menu, currently there is only one supported integration type which is OpenAPI/Swagger.
Copy and paste the Open API specification of your external integration/web service in MetaData.
Click Create
The ComUnity Toolkit will automatically generate the definition of the proxy class for your integration based on the Open API specification you provided. However, if there are any errors during the parsing process of the Open API specification, these errors will be displayed.
It's essential to ensure that the Open API specification is correctly formatted to avoid errors during the parsing process. By checking the specification before submitting it to the ComUnity Toolkit, you can avoid potential issues and ensure that your integration is generated accurately.
Try it out 💡 Learn more about using Integrations by following this tutorial: Adding Weather API Integration to a Communities Project.